Remove Mac Apps
A Technical Site Providing Uninstall Tutorial For Mac OS X
Mac: How to Export/Convert HEIF images to JPEGs
- George
- Jan 16,2018
- 1809
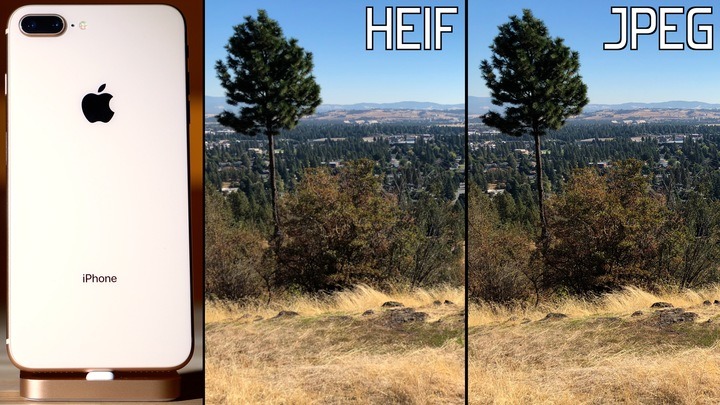
Once you upgrade to iOS 11, the photos taken by your iPhone will be by default High-Efficiency Image File (HEIF), a new format that offers better compression than JPEG while preserve the same visual quality. To view, edit, or duplicate those HEIF files on your Mac, you should also upgrade your Mac to macOS High Sierra.
So, how can you export HEIF images from your iPhone to Mac as the more widely used JPEG format? Many utilities offer the feature to convert HEIF images to JPEG, but most of them cannot preserve the EXIF data. The truth is, you don’t even need to use any third party software if you wish to make the conversion or export the JPEG format images, as the built-in apps on your Mac can handle the task perfectly.
Use Photos app on Mac to export the HEIF photos on your iPhone as JPEGs:
- Connect your iPhone to your Mac via the USB transfer method.
- Launch the Photos app on your Mac from the Launchpad, Spotlight or Finder.
- Select the HEIF photos you would like to convert to the JPEG format.
- Click on File in the Menu Bar, and choose Export > Export Photos
- Choose JPEG from the Photo Kind menu in the new window that pops up.
- Choose the desired options from JPEG Quality, Color Profile and Size menus.
- Click the Export button below, then specify the folder you want to store the converted JPEG files, and click Export button again to start the conversion process.
The process may take a while, and you will be informed by a notification when the export is finished. If you want to convert the original photos without any edits applied, just choose Export Unmodified Original for Photos in the Export menu instead.
Use Preview app on your Mac to convert HEIF photos to JPEGs:
- Open Finder on your Mac, and locate the folder that stores the HEIF images.
- Select the HEIF images you want to convert, right click on one of them, and choose Open With > Preview, to view those selected images in the Preview app.
- Press Command + A to select all the images in the thumbnails.
- Head to the File menu and choose Export Selected Images.
- Specify the folder you want to store the converted JPEG files, then select the JPEG option from the Format slider, and click Choose button to start the conversion.
If the thumbnails don’t show up in the sidebar, just choose View menu > Thumbnails to display the thumbnails. And you can adjust the JPEG quality from the Compression slider, or pick other image formats like TIFF, PNG, PDF from the Format slider.
Note that all these operations require a Mac running on macOS High Sierra and an iPhone on iOS 11. The exported/converted images will keep the original EXIF data.
Here’s a trick you may want to know: you can set up your iPhone to take photos/videos in different media formats. To do so, tap the Settings app in your iPhone, and tap Camera > Formats. High Efficiency option allows you to take photos/videos with the default HEIF/HEVC media, while Most Compatible option makes your camera to shot the more compatible JEPG images or H.264-encoded videos.
Leave your comments here:
Recent posts
Categories
- Apple Infos (19)
- Application Guides (8)
- How-to Guides (25)
- Mac Apps (3)
- Mac Hardware (1)
- Mac Tips & Tricks (11)
- macOS (12)
- Security Issue (11)
- Tech News (14)
- Uninstall Tutorials (48)
Archive
- August 2021
- June 2021
- April 2021
- March 2021
- February 2021
- January 2021
- December 2020
- November 2020
- October 2020
- September 2020
- March 2020
- February 2020
- September 2018
- August 2018
- July 2018
- June 2018
- May 2018
- April 2018
- March 2018
- February 2018
- January 2018
- December 2017
- November 2017
- October 2017
- September 2017
- August 2017
- July 2017
- June 2017
- May 2017
- April 2017
- March 2017
- February 2017
- January 2017
- December 2016
- November 2016
- October 2016
- September 2016
- August 2016
- July 2016
Comments