Remove Mac Apps
A Technical Site Providing Uninstall Tutorial For Mac OS X
Proper Steps to Uninstall Panda Antivirus for Mac
- Jenny
- Jul 28,2017
- 3233
What antivirus/security software are you running on your Mac? When the current antivirus is expired, will you renew your subscription or replace it with other options?

We do notice that many users have doubts about how to correctly uninstall antivirus or security software on their Macs. As most antivirus/security apps are well integrated with system, it may be not so easy to completely remove that kind of software. Meanwhile, most antivirus are not compatible with others, installing a new brand of antivirus typically requires a clean uninstallation of the current antivirus software. Today we will discuss the proper solution to uninstall Panda Antivirus for Mac.
Problems you may encounter when uninstalling Panda Antivirus:
- Panda Antivirus cannot be normally quit or still runs on the background;
- Panda Antivirus cannot be dragged and dropped to the Trash as it is open/in use;
- Process of uninstalling Panda Antivirus is stopped due to error message;
- Components of Panda Antivirus remain or cannot be deleted after the uninstall…
Which issue upsets you most? If you cannot uninstall Panda Antivirus by conventional method, follow the instructions below to guarantee a complete uninstall.
Step 1: Run Panda Antivirus Uninstaller
Most apps can be easily uninstalled by the trash-to-delete method. Yet this option may not be so proper for uninstalling antivirus software, which usually come with a built-in uninstaller. In today’s case, Panda Antivirus does have a dedicated uninstall tool allowing users to effectively remove itself from macOS/Mac OS X. So, if you still keep the installation package of Panda Antivirus, you will be able to run the uninstaller and carry out an easy and fast uninstalling process.
Here’s how to perform a proper uninstall of Panda Antivirus:
- (1)Quit Panda Antivirus from the Dock or Menu Bar if it is running.

- (2)Launch Finder on your Mac, and locate the PAV4MAC.dmg file.
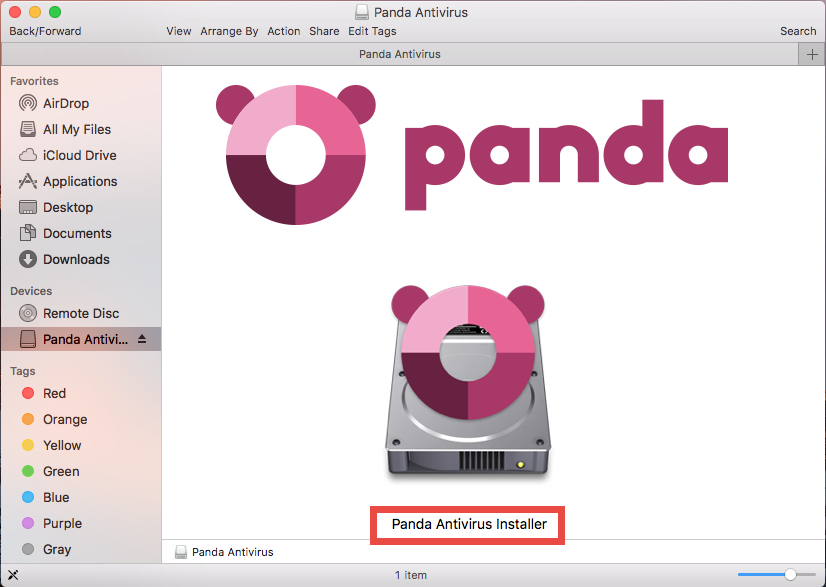
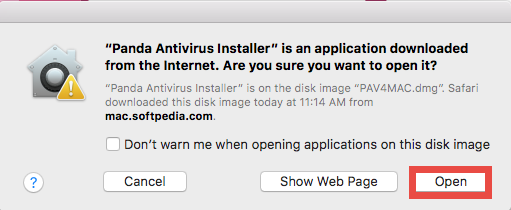
- (3)Double click to open up the file, then double click to run the application with the name of Panda Antivirus Installer, and click Open in the warning dialog.
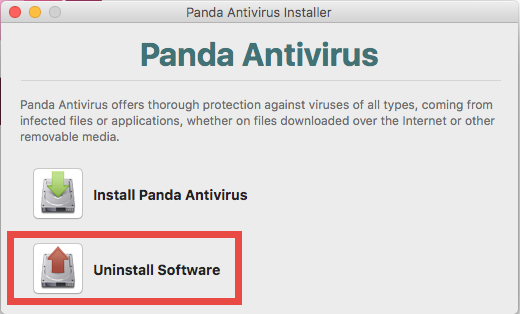
- (4)Double click the Uninstall Software in the Panda Antivirus Installer window.
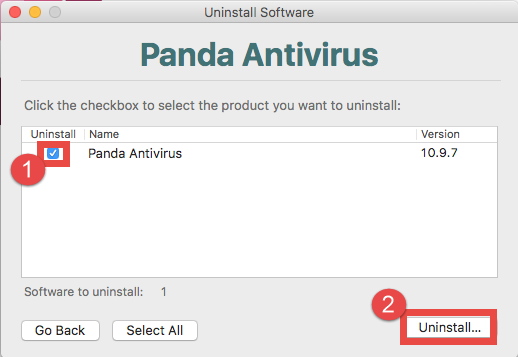
- (5)Tick the checkbox of Panda Antivirus, and click Uninstall button below.
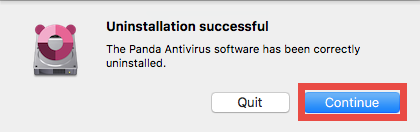
- (6)As the uninstallation completes, click Continue to close the Installer window.
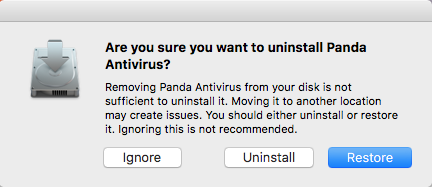
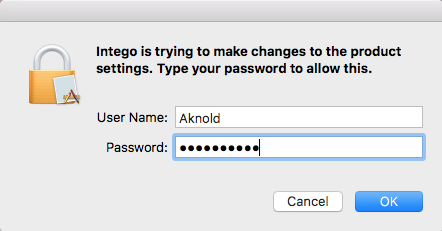
What if you have deleted the installation file? Well, I have tested the drag-and-drop method, and it turns out that when you delete Panda Antivirus to the Trash, you will be prompted that “Are you sure you want to uninstall Panda Antivirus?”. So just click Uninstall button and then type your administrator password to allow the change.
After uninstalling Panda Antivirus, you can continue with the next part – deleting app remnants.
Step 2: Remove Panda Antivirus Leftovers
Some users reported that they still fail to install another antivirus as the incompatible Panda Antivirus still can be detected on their Macs. Well, in that case the most possible reason is that some items pertaining to Panda Antivirus still remain on the system. And that’s why you need to clear out related items around your system.
- (7)Open Finder again, and head to Go > Go to folder from the Menu Bar.
- (8)Type /Library in the box that appears, and hit Enter key to open up the directory.

- (9)Click Search in the upper right corner of Finder window, then type Panda (or Intego, the vendor’s name) in the Search bar, and click Library below.
- (10)In the result, select the items which contains Panda or Intego, right click on them and choose Move to Trash. Make sure not to delete other irrelevant items there.

- (11)Repeat the same steps to delete leftover in the ~/Library directory.
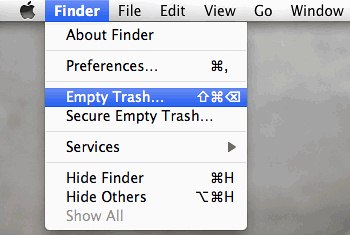
- (12)Finally, choose Finder > Empty Trash to permanently delete those traces.
If you are an experienced users, you could be able to find out most Panda Antivirus traces from multiple system directories. Yet for some Mac newbies, manually detecting Panda Antivirus leftovers could be quite risk-taking and time-consuming.
Best solution to totally uninstall Panda Antivirus for Mac:
Wondering if there is a more convenient and effective way to uninstall Panda Antivirus for Mac? Actually it is a better option, especially for inexperienced users, to utilize a reputable, powerful uninstaller in various app removal tasks. With a handy tool, you can easily complete the uninstallation within a few clicks. Here are how you can remove Panda Antivirus for Mac without hassle.
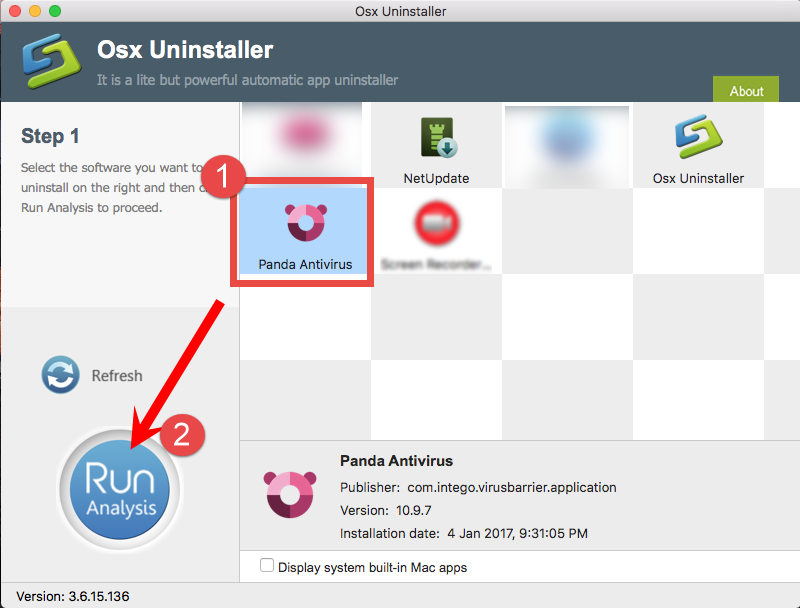
- 1.Quit Panda Antivirus first, and then launch Osx Uninstaller.
- 2.Select Panda Antivirus in the interface, and click Run Analysis.
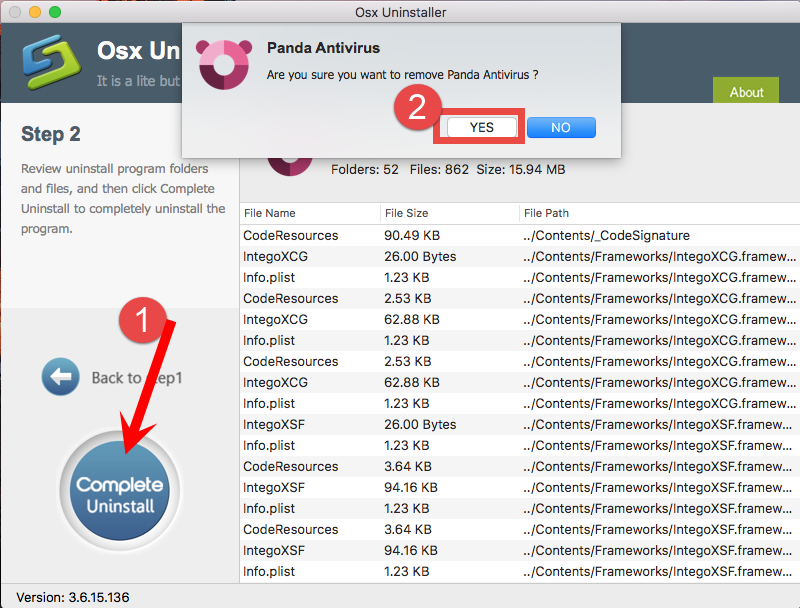
- 3.Click Complete Uninstall, and click Yes to confirm the uninstall.
- 4.Click Uninstall in the pop-up dialog and wait for it to complete.
- 5.Click Back to Interface to re-scan your Mac for installed apps.
So that’s the simple process of deleting Panda Antivirus with Osx Uninstaller. How about give it a try? You will enjoy the convenience and efficiency it brings.
Welcome to leave your comment or suggestion about this removal tutorial.
Leave your comments here:
Recent posts
Categories
- Apple Infos (19)
- Application Guides (8)
- How-to Guides (25)
- Mac Apps (3)
- Mac Hardware (1)
- Mac Tips & Tricks (11)
- macOS (12)
- Security Issue (11)
- Tech News (14)
- Uninstall Tutorials (48)
Archive
- August 2021
- June 2021
- April 2021
- March 2021
- February 2021
- January 2021
- December 2020
- November 2020
- October 2020
- September 2020
- March 2020
- February 2020
- September 2018
- August 2018
- July 2018
- June 2018
- May 2018
- April 2018
- March 2018
- February 2018
- January 2018
- December 2017
- November 2017
- October 2017
- September 2017
- August 2017
- July 2017
- June 2017
- May 2017
- April 2017
- March 2017
- February 2017
- January 2017
- December 2016
- November 2016
- October 2016
- September 2016
- August 2016
- July 2016
Comments