Remove Mac Apps
A Technical Site Providing Uninstall Tutorial For Mac OS X
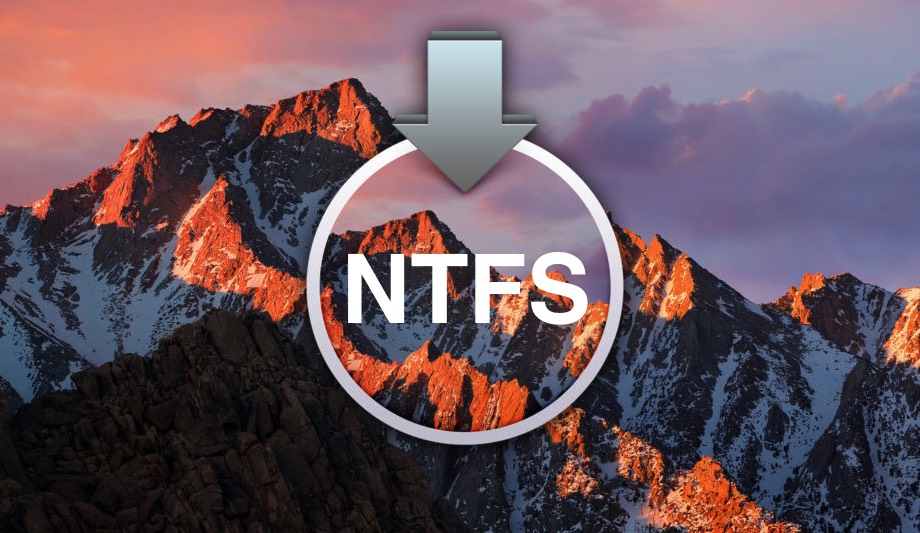
How to Write to NTFS Drives on macOS Sierra
- Catherine
- Mar 22,2017
- 4222
Want to write to NTFS-formatted hard drive on your Mac computer? Mac operating system does not officially support writing to NTFS drives, so by default, you are unable to make any changes to a NTFS drive including copying, editing or deleting anything in the drive. All you can do is to view/read the content of the file there. Roughly there are two different ways for writing to NTFS drives on macOS. Before attempting to make any change, you’d better back up all your data in the NTFS drive.
Option 1: run third party drivers (mostly priced)
Some users prefer to install 3rd party drive apps to enable NTFS write on Mac OS, and most of them are paid software. Paragon NTFS and Tuxera NTFS for Mac are among the popular ones, and they are easy to install and use. With these utilities, you will be able to easily read and write the files stored in the NTFS-formatted hard drive. However, they come with some shortcomings. Except the prices, some apps’ stability and compatibility with macOS may upset some users running newer or older version of macOS. Meanwhile, free NTFS drivers may not work as well as the paid ones.
Option 2: configure macOS settings (totally free)
Actually, Mac computer in some way supports writing on NTFS partition in core. The support for the feature is little-known as it is disabled by default. You can modify the settings for macOS and then enable the NTFS write by following the steps below.
- First, try to label your NTFS drive with a short name (one word is recommended).
- Type Terminal in the Spotlight box, and hit Enter key to open it up. Or you can head to Applications/Utilities folder in Finder, and click to launch Terminal app.
- In the Terminal window, type the following command: sudo nano /etc/fstab
- Enter your password when prompted, and you will be directed to an editor window.
- Type the command: LABEL=NAME none ntfs rw,auto,nobrowse (don’t forget to replace ‘Name’ with your NTFS driver’s name), and then hit Enter key.
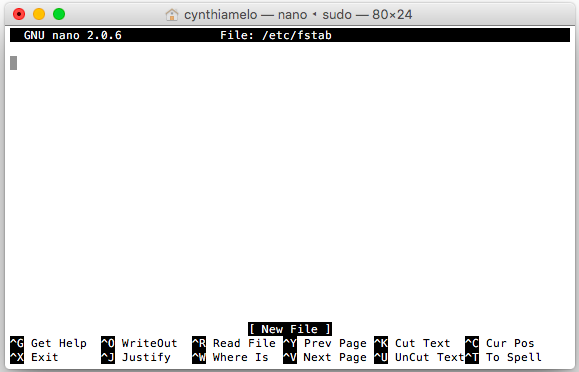
- Press Ctril + O to save the files, and then press Ctrl + X to exit the editor.
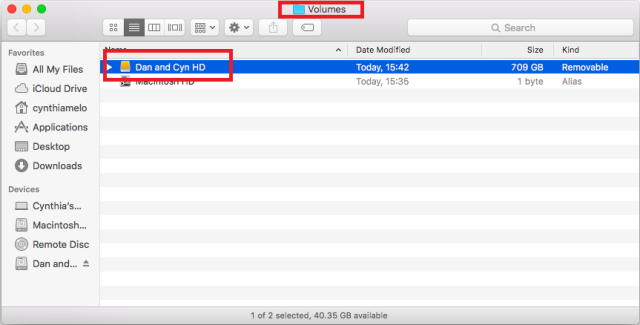
- Reject your NTFS drive and the reconnect it on the Mac.
- Launch Terminal again, and enter the command: open /Volumes.
Then a Finder window with the name of Volumes will be open, and you are able to view your external NTFS drive as well as copy, edit, or delete files in this volume. That’s how to enable NTFS writing in system file with Terminal command line. The disk appears in /Volumes directory only. Here’s a another way to access the drive: open Finder, choose Go to folder from the Go menu, type in /Volumes and hit Enter key. You can drag the drive to the sidebar so that it can be easily accessed in Finder.
To undo the change above, repeat the steps to open the /etc/fstab file in nano, delete the line you added to the file, and press Ctril + O to save the configuration. Note: This method may not work properly (after all, Apple does not officially support NTFS format). You can consider reformatting your drive from NTFS to exFAT (option 3), which works well in both Mac OS and Windows OS. Disk Utility could help you with that.
Which solution do you prefer to use? Leave your suggestion or question right here.
Leave your comments here:
Recent posts
Categories
- Apple Infos (19)
- Application Guides (8)
- How-to Guides (25)
- Mac Apps (3)
- Mac Hardware (1)
- Mac Tips & Tricks (11)
- macOS (12)
- Security Issue (11)
- Tech News (14)
- Uninstall Tutorials (48)
Archive
- August 2021
- June 2021
- April 2021
- March 2021
- February 2021
- January 2021
- December 2020
- November 2020
- October 2020
- September 2020
- March 2020
- February 2020
- September 2018
- August 2018
- July 2018
- June 2018
- May 2018
- April 2018
- March 2018
- February 2018
- January 2018
- December 2017
- November 2017
- October 2017
- September 2017
- August 2017
- July 2017
- June 2017
- May 2017
- April 2017
- March 2017
- February 2017
- January 2017
- December 2016
- November 2016
- October 2016
- September 2016
- August 2016
- July 2016
Comments