Remove Mac Apps
A Technical Site Providing Uninstall Tutorial For Mac OS X
- Home
- >>>
- Database
- >>>
- Developer Tools
- >>>
- AmazingSlider
Uninstall AmazingSlider Guides – How to Remove AmazingSlider for Mac
Hard to uninstall AmazingSlider from Mac? Don't know where the file is or where to start the removal? This post is all about the how-to guides to help you remove this program from Mac.
When install AmazingSlider on the Mac, it will also bring many of its supported files to the Mac, including application support files, preferences, caches etc. However, many people are not clear about these files, and some of these files cannot be found and removed smoothly especially for the basic Mac users. Therefore, it will bring some troubles when people need to uninstall AmazingSlider.
General reasons to uninstall AmazingSlider on Mac
- AmazingSlider gets no use on the computer
- The application itself encounters a problem which need to remove first
- AmazingSlider should be reinstalled on Mac
- The program occupies a lot of space which affect the Mac's performance
- AmazingSlider causes an application conflict issue with other apps on the Mac
Common removing problems you might encounter
- Don't know where should start the program removal
- Not clear what's the right way to remove an application on Mac
- Cannot find and delete all of AmazingSlider's files and traces on the computer
- Cannot 100% remove all related files of the application
- AmazingSlider removal encounters a problem when follow the traditional way to uninstall it, such as removing process has not response or just shut down before finish the removal
Several guides to uninstall AmazingSlider from Mac
Traditional option – remove the application to the Trash
- Close the application on the Mac. If you are not sure whether it is running on the Mac at that moment, you can check the Dock, right-click on the app if it appears at there, and select exit
- Click Finder on the Dock, and then click Applications on the left pane
- Quickly, you will see a programs list on the right pane, find and locate AmazingSlider
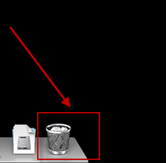
- Drag the app's icon to the Trash to remove it,
- Right-click on the Trash icon on the Dock, and select Empty Trash to delete the app you just removed
- After conducting the above removing steps, you should continue to find and clear everything belonging to AmazingSlider on the Mac
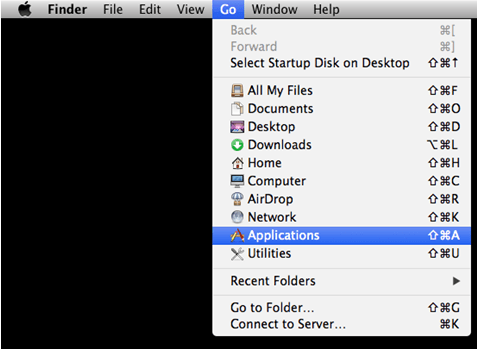
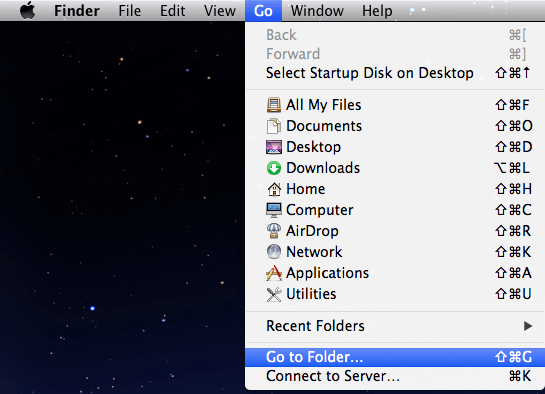
- Click on Go on the head menu, and click Go to folder...
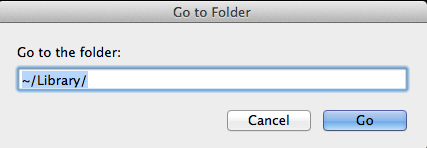
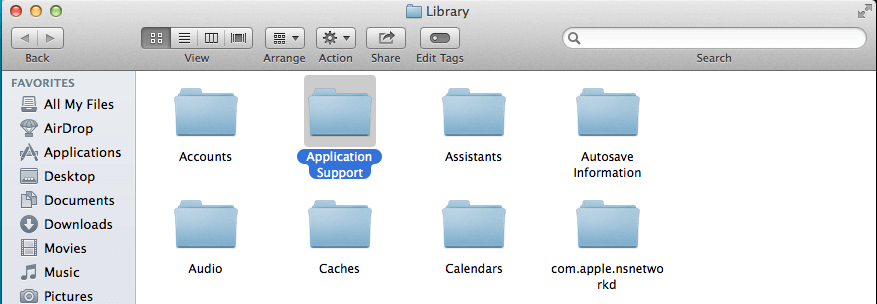
- Type "~/library/" in the box, and hit the Return key to access to the user's library folder
- Double click to open Application Support folder in the Library, have a check and delete AmazingSlider's folder inside
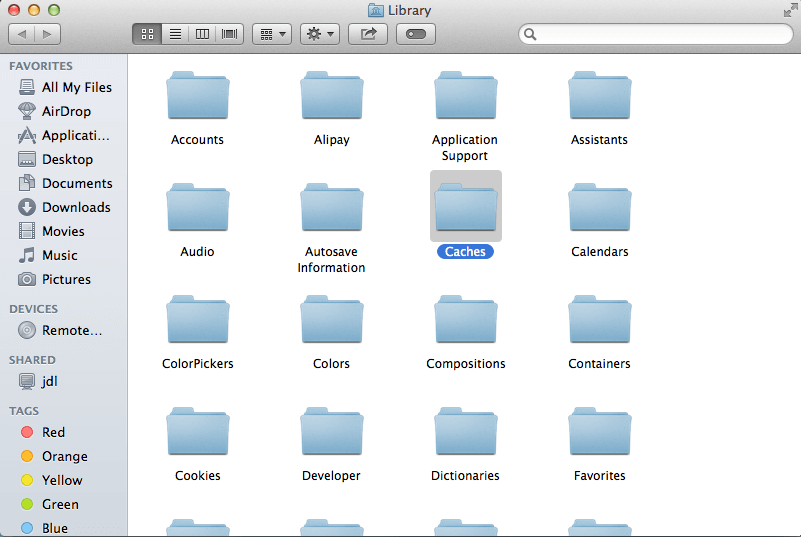
- Back to the Library window, and click to open Caches this time, delete those caches files of AmazingSlider
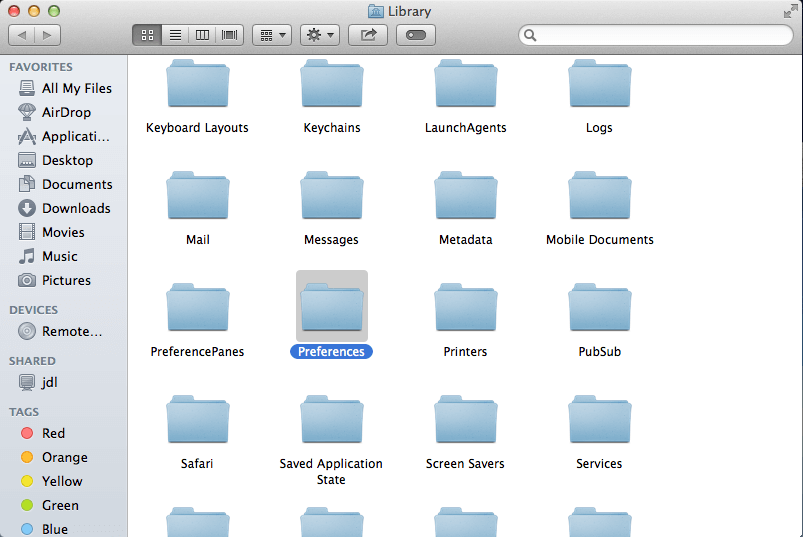
- The same, continue to open Preferences folder in the Library, and delete related preferences of the app or its publisher
- After finishing to clear all of AmazingSlider's files and traces thoroughly on the Mac, you will just complete the whole removal job on your computer
Manual option – remove the app and its files one by one
- Click on Go on the top menu, and select Applications
- Click to open AmazingSlider's folder if you have it on your Mac
- Double-click on its uninstall process, and follow the instruction to remove it
- If you don't have such a specific uninstall process on your Mac, you will have to take another way to perform the app removal
- After uninstalling the program itself in Applications folder, like the first traditional way, you should go to the user's Library folder either, and then clean all of its application support files, caches and preferences without leaving any file or trace.
In addition, some publishers might release their own uninstallers, which support users to uninstall their applications on the Mac. Therefore, you also can try to visit the app's website and see whether there is a specific uninstallers for AmazingSlider.
More effective option – remove AmazingSlider with a professional uninstaller
If you want the application removal on the Mac can be faster, easier and more effective, you can consider to take a professional uninstall tool to manage the app removal on your Mac. This is a popular and smarter solution in nowadays to perform the app uninstallation.

To uninstall AmazingSlider, you also can take such a way to perform the removal on your Mac, a sophisticated uninstaller can help you scan all of the app's files from the computer, and allow you to delete them within a few of seconds.
Removing steps to uninstall AmazingSlider with a reliable uninstaller
- Make sure the app has been stopped running at this time
- Install and launch a reliable uninstaller on your Mac
- Select the application you need to remove, and follow the guides to perform the uninstallation step by step
- Close the uninstaller, and restart your Mac if necessary
Conclusion
To remove an application like uninstall AmazingSlider, there are now more than one way to perform the uninstallation on the Mac. However, you might need to take much time and effort when taking a manual way to remove it by yourself. And it is also very easy to leave an incomplete removal at the end. Therefore, it is more recommended to take a professional and automatic removal tool to help you uninstall the application, which will avoid many of troubles which easily caused by the wrong or incomplete removal on the Mac.

Comment